
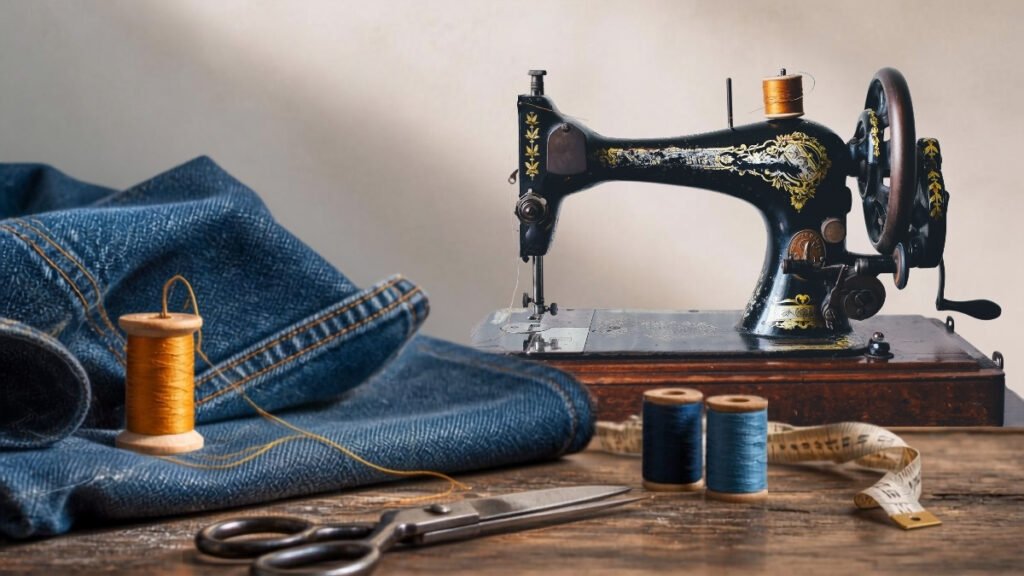
Sewing denim should not turn into a succession of broken needles. The problem often arises when sewing through hems, side seams or several built-up layers, but the thickness of the denim is not the only possible cause.
An incompatible, worn or incorrectly fitted needle; pulling the fabric; using a stitch that causes the needle to hit the presser foot; or asking more of the machine than it can handle can also cause the needle to break.
In this guide, you will learn how to prepare your machine, choose a needle and thread, reduce bulk in seams and sew through thick areas in a controlled way. These recommendations are starting points: final adjustments should be made using scraps from the same project and always in accordance with your machine's manual.
Why does the needle break when sewing denim?
If you are not yet familiar with this fabric, start with our guide to what denim is, its history, characteristics and types
A needle can break because of a combination of factors. Before blaming the thickness alone, check for these causes:
- The needle is bent, nicked or worn.
- The needle type or system is not compatible with the machine.
- The needle size is too small for the fabric and number of layers.
- The needle has not been inserted as far as it will go or is facing the wrong way.
- The fabric is being pulled from behind, deflecting the needle.
- The selected stitch causes the needle to hit the presser foot or needle plate.
- The presser foot is not suitable for the selected stitch.
- There is too much bulk where seams cross.
- The machine is sewing too quickly over a difficult area.
- The bobbin case, needle plate or presser foot is incorrectly fitted.
- The machine is out of adjustment, damaged or has a build-up of debris.
A broken needle is a signal to stop. Do not simply replace it and carry on without identifying the cause, as the problem may recur or damage the needle plate, presser foot, hook mechanism or fabric itself.
Safety before you begin
Switch off the machine and follow the instructions in its manual before changing the needle, removing the presser foot, cleaning the bobbin area or bringing your fingers close to the mechanism.
Also check that:
- The needle belongs to a system compatible with your machine.
- It is straight and in perfect condition.
- It has been inserted as far as it will go and is facing the specified way.
- The needle clamp screw is correctly tightened.
- The presser foot and needle plate are compatible with the stitch.
- No fragments remain from a previous breakage.
Do not use a bent needle even if it appears to pass through the fabric. It may deflect, hit the needle plate and break.
Which needle should you use to sew denim?
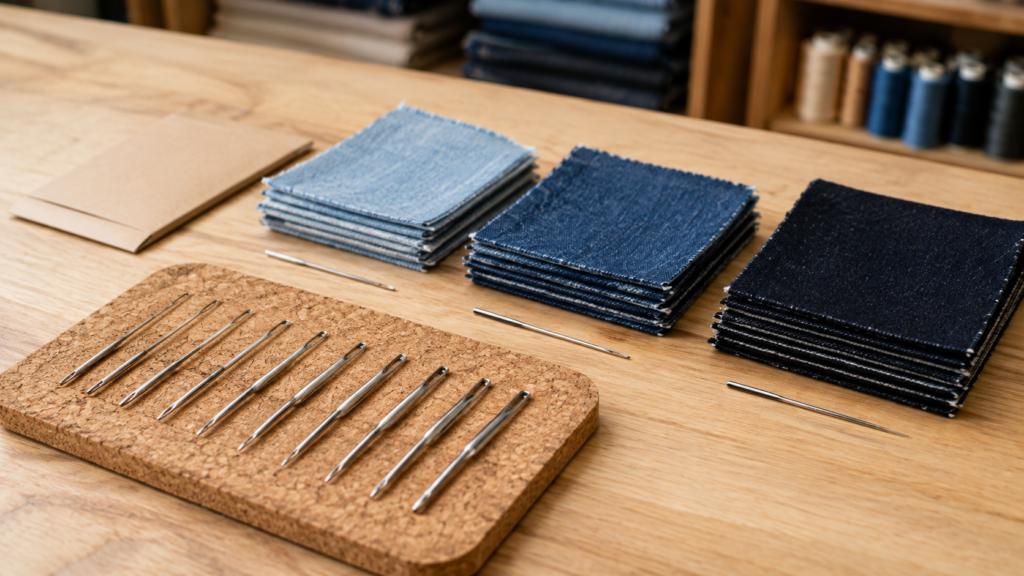
Needles designed specifically for jeans or denim are made to work with dense fabrics. Their construction is intended to penetrate layers more steadily than a universal needle of the same size.
Even so, the word “denim” on the packet does not guarantee that every size will suit every project. You need to match the needle to:
- The weight of the fabric.
- The number of layers.
- The composition and stretch.
- The thickness of the thread.
- The machine's capabilities.
Initial size guide
| Type of work | Starting size to try |
|---|---|
| Lightweight denim, one or two layers | 80/12 or 90/14 |
| Midweight denim | 90/14 or 100/16 |
| Medium-heavy denim and several layers | 100/16 |
| Heavyweight denim | 100/16 or 110/18, only if the machine supports it |
These sizes are for guidance. Consult the machine manual and the needle manufacturer's information. A needle that is too fine may flex; one that is excessively thick may leave visible holes, damage a lightweight fabric or be unsuitable for the mechanism.
If you want to learn how to interpret tissue weight, Denim Weight: How to Choose the Right Weight for Each Project.
When to change the needle
Do not wait for it to break. Change it if:
- It has hit the needle plate or presser foot.
- It is bent or has a damaged point.
- It causes skipped stitches that did not occur before.
- It pierces the fabric noisily or with difficulty.
- It damages or pulls the denim threads.
- It has been used for many hours on a dense material.
- You cannot remember when you fitted it.
Keep new and used needles separate so that you do not confuse them.
Which thread should you choose?
For many construction seams, a good-quality polyester thread works well, provided its thickness is compatible with the needle and machine. The thread should pass freely through the eye without excessive friction.
Thick topstitching thread can create a decorative finish, but not all machines handle it in the same way. Before using it:
- Consult the manual.
- Check the compatible needle size.
- Test the complete threading path.
- Sew a sample with the same layers.
- Check the balance between the upper and bobbin threads.
For some projects, topstitching thread can be used on top and a compatible conventional thread in the bobbin, but this should not be assumed to work with every machine. Test it and follow the manufacturer's instructions.
Prepare the machine step by step
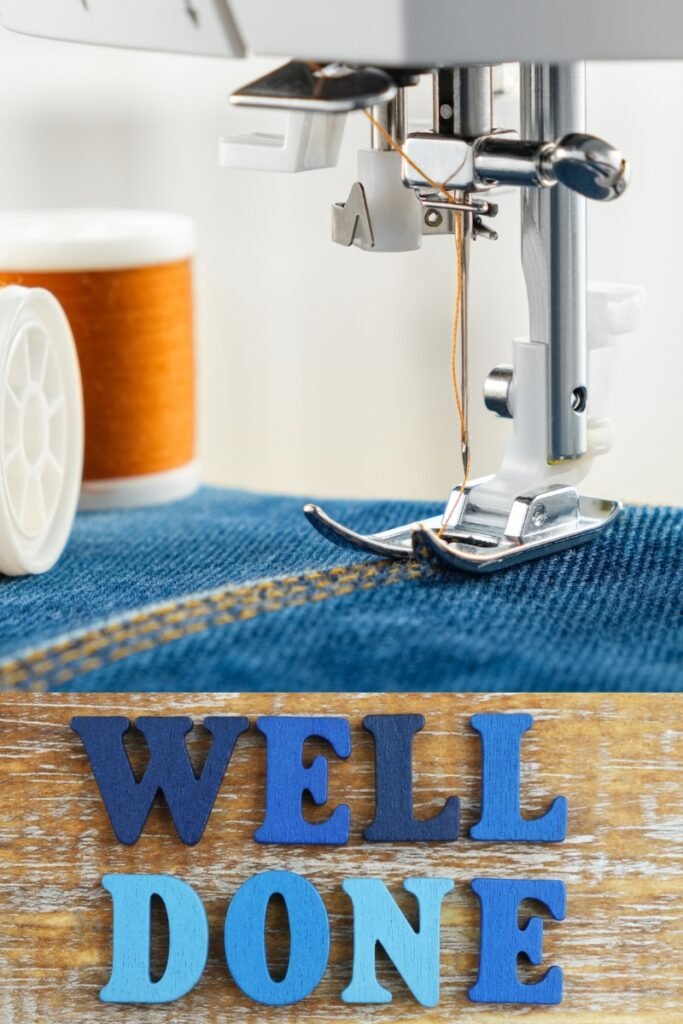
1. Fit a new, compatible needle
A new needle eliminates one of the most common causes of problems. Fit it in exactly the right orientation and push it in as far as it will go.
2. Rethread the machine
Rethread the machine with the presser foot raised if instructed to do so in the manual. Check that the thread passes through every guide and that the bobbin is fitted correctly.
3. Select a straight stitch
Start with a centred straight stitch and a compatible presser foot. Before lowering the needle, turn the handwheel manually in the direction specified by the manufacturer to check that the needle does not hit any part.
4. Test a moderate stitch length
As a starting point, you can try a stitch length of approximately 2.8 to 3.5 mm. A very thick fabric or visible topstitching may require a different length. Always decide by testing on a sample.
A stitch that is too short pierces the fabric many times in a small area and may weaken it. One that is too long may not provide the control needed on curves or small pieces.
5. Adjust the tension only after threading correctly
Do not compensate for incorrect threading by changing the tension. First rethread the machine, try another needle and check the bobbin. Then make small adjustments if the manual permits them.
The test you should carry out before sewing
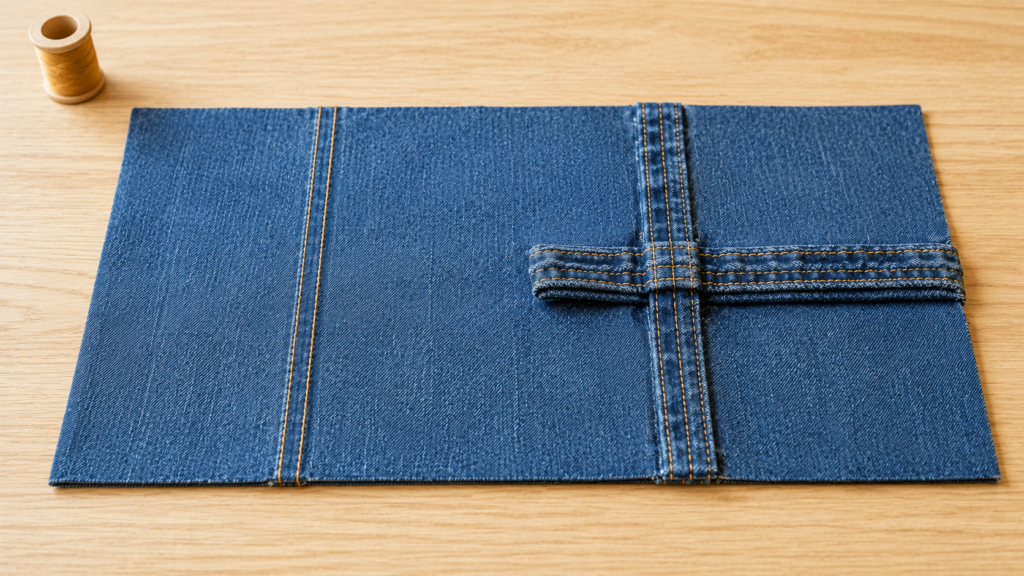
Prepare a scrap with the same combination of materials as the project:
- Outer fabric.
- Lining.
- Interfacing.
- Hems.
- Overlapping seams.
- The final thread.
Sew a simple area first, then recreate the thickest seam intersection. Check:
- Whether the needle passes through without flexing.
- Whether there are skipped stitches.
- Whether the thread breaks or forms loops.
- Whether the fabric feeds evenly.
- Whether the machine makes knocking sounds or other unusual noises.
- Whether the seam is balanced on both sides.
A flat sample is not enough if the project will have six or eight layers in some areas. The test must reproduce the most demanding point.
Yousyslow tip: Keep the sample with a note of the needle type and size, thread, stitch length and settings used. It will serve as a reference for future projects.
How to sew through a thick seam without breaking the needle
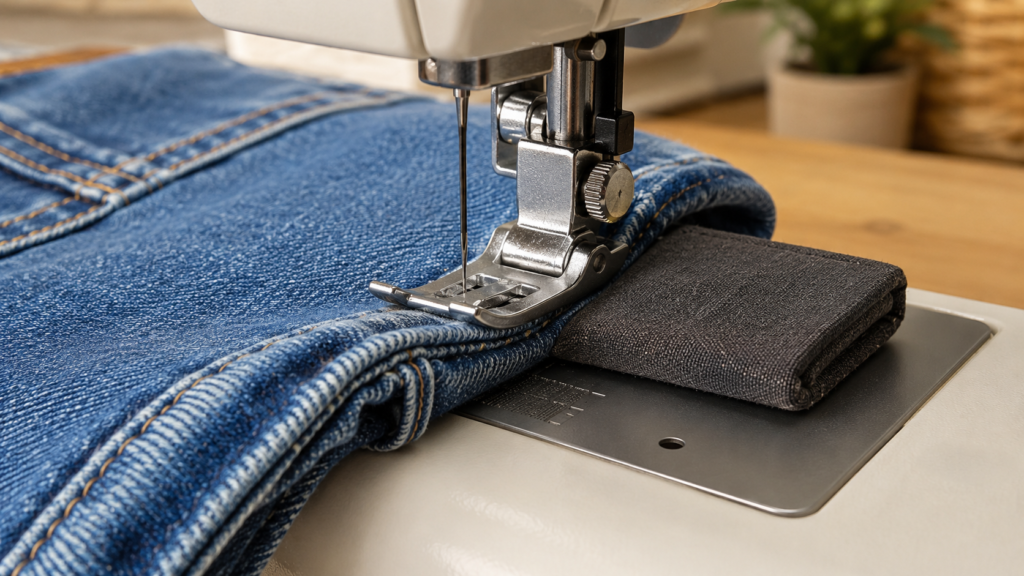
The problem often occurs when the presser foot rises sharply as it reaches a hem. If it becomes tilted, it may lose pressure on the fabric and make feeding difficult.
To sew through this area:
- Stop the machine before the thickness increases.
- Keep the needle in a safe position as specified in the manual.
- Place a seam-levelling tool designed for this purpose behind the presser foot, if your machine and presser foot allow it.
- Start sewing again slowly to keep the presser foot level.
- Remove or reposition the tool once the presser foot has passed over the change in level.
- Continue at a moderate speed.
Do not place improvised rigid objects near the needle. Use a suitable tool or several layers of a firm fabric scrap, always keeping your fingers away from the sewing area.
If you need to move the needle manually, turn the handwheel only in the direction specified by the manufacturer. Do not force it if you feel unusual resistance.
Do not pull the fabric
Pulling from behind can bend the needle while it is in the fabric. The feed dogs should move the material.
Your role is to guide it gently to maintain the direction, not to push or drag it. If it does not feed:
- Stop the machine.
- Take your foot off the pedal.
- Check the presser foot and feed dogs.
- Check the bulk of the seam.
- Consider whether the presser-foot pressure can be adjusted.
- Reduce the number of layers if the construction allows it.
Continuing to accelerate will not clear a blockage.
How to reduce bulk in seams
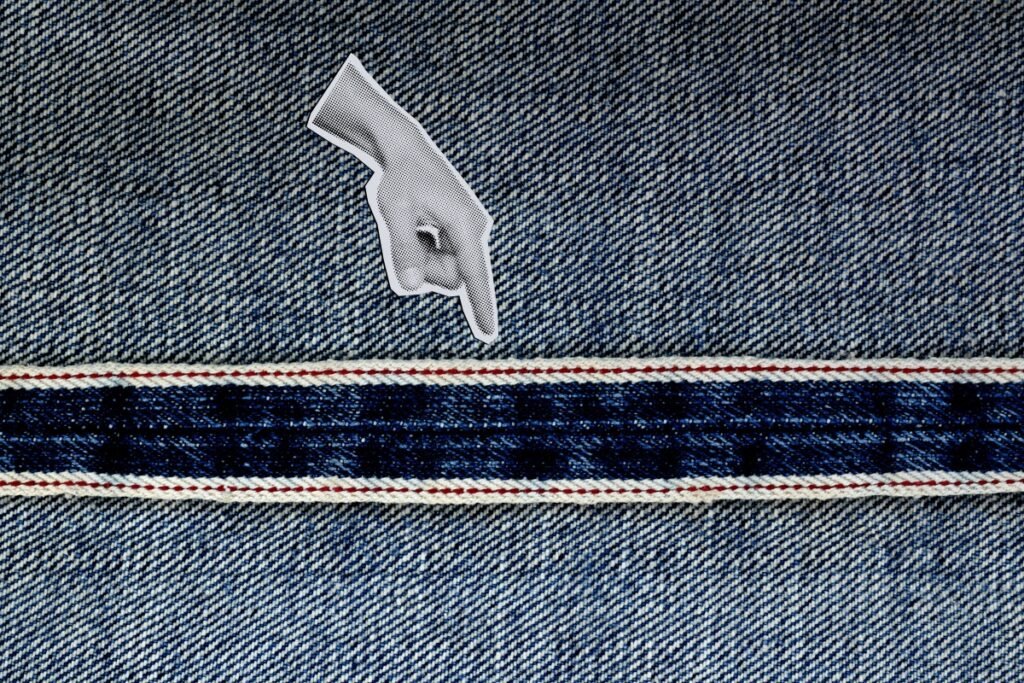
Good preparation prevents many problems.
Press seams open
If the design allows, press the seam allowances open to distribute the bulk. Use a temperature suitable for the fabric's composition and protect the surface when necessary.
Trim or grade seam allowances
In enclosed seams, it may be possible to trim or grade the layers so that they do not all end at the same point. Do this only if it does not compromise strength or finish.
Avoid unnecessary overlapping seams
When designing an upcycling project, stagger joins or choose panels that reduce bulky seam intersections.
Use an appropriate construction
A project combining heavyweight denim, lining, wadding and stiff interfacing may exceed the capabilities of a domestic sewing machine. Choose compatible materials and do not add structure without checking the final bulk.
Sewing stretch denim
Denim containing elastane introduces another factor: the fabric may stretch while it is being sewn.
To control it:
- Do not stretch the piece as you guide it.
- Test in both directions.
- Use a needle compatible with the composition and type of seam.
- Stabilise pockets, zips or waistbands when the pattern requires it.
- Check whether the seam needs to retain its stretch.
A jeans needle may be suitable in many cases, but some very stretchy fabrics require a different point. Consult the manual and the needle manufacturer's recommendation for the specific composition.
Sewing reused denim
Used jeans are not uniformly thick. The knees, crotch and hems may be weakened, while pockets, waistbands and seams contain several layers.
Before sewing:
- Wash and dry the garment.
- Inspect the fabric by holding it up to the light.
- Remove components that interfere with sewing.
- Mark worn areas.
- Sort pieces by thickness and stretch.
- Test the machine on a scrap from the same garment.
You can also consult Ideas for Reusing Old Jeans: Make the Most of Every Piece to plan what to keep before making the first cut.
What to do if the needle breaks
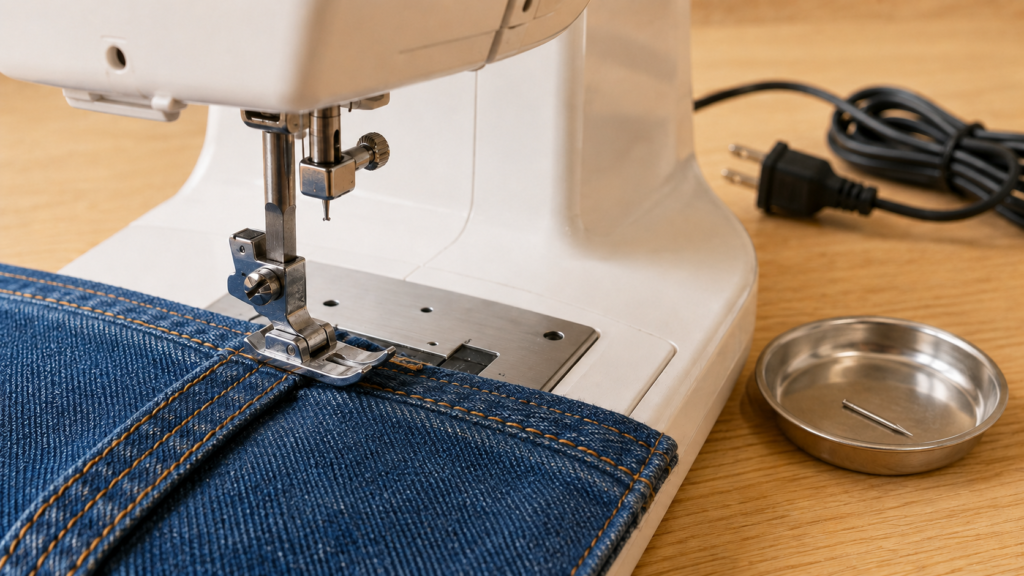
- Take your foot off the pedal immediately.
- Switch off the machine.
- Do not continue sewing.
- Find and remove all the fragments without placing your hands near moving mechanisms.
- Check the presser foot, needle plate and bobbin area.
- Check for any marks or damage.
- Fit a new, compatible needle.
- Rethread the machine.
- Turn the handwheel manually as directed in the manual to check the needle's path.
- Test on a scrap.
If you find damage, the needle hits something again or you cannot recover all the fragments, do not use the machine until it has been inspected by a qualified person.
Quick troubleshooting guide
| Problem | Possible causes | First check |
|---|---|---|
| The needle breaks when you start sewing | Incorrect fitting or collision with the presser foot | Needle, stitch, needle plate and presser foot |
| It breaks at a hem | Too many layers or a tilted presser foot | Level the presser foot and reduce the speed |
| The needle bends | The fabric is being pulled | Let the feed dogs do the work |
| There are skipped stitches | Damaged, unsuitable or incorrectly fitted needle | Fit a new, compatible needle |
| The upper thread breaks | Incorrect threading, needle or tension | Rethread and check the needle eye |
| The fabric does not feed | Presser foot, feed dogs or excessive bulk | Stop and check the feed mechanism |
| The machine makes a knocking sound | Possible collision or misalignment | Switch it off and do not continue until it has been checked |
Common mistakes when sewing denim
Using the same needle for every thickness
Lightweight denim and a multi-layer hem do not place the same demands on a needle.
Speeding up to get through a difficult area
Speed increases the risk if the needle is already being deflected.
Pulling the fabric from behind
This can flex the needle and alter the stitch length.
Starting directly on the final piece
A test allows you to identify the problem without spoiling the project.
Building up interfacing and lining without measuring the thickness
Each material adds bulk at corners and seam intersections.
Ignoring the machine manual
Needle systems, limits and settings are not the same on every model.
Frequently Asked Questions
Which needle is used to sew jeans?
Use a needle designed specifically for jeans or denim, from a system compatible with the machine and in a size suitable for the fabric and number of layers. Sizes 90/14 and 100/16 are common starting points for midweight fabrics, but you should check the manual and sew a sample.
Can I sew denim with a domestic sewing machine?
Many domestic sewing machines can handle lightweight or midweight denim and a reasonable number of layers. Their capabilities depend on the model, presser foot, construction and materials. Do not force the machine if it jams or makes a knocking sound.
Why does the needle break at the hem?
A hem contains several layers and can tilt the presser foot. Stop before the change in level, level the presser foot with a suitable tool and proceed slowly. Reduce bulk if the construction allows it.
What stitch length should I use for denim?
You can begin testing at around 2.8 to 3.5 mm, but the appropriate setting depends on the weight, thread and purpose of the seam. Do not adjust it without testing the same layers as the project.
Can I use a universal needle?
It may pass through some lightweight fabrics, but for dense denim, a dedicated jeans needle compatible with the machine is generally preferable. Choose according to the actual fabric, not just the product name.
Do I need to use special thread for jeans?
Not always. A good-quality polyester thread can be suitable for many seams. Thick topstitching thread requires a compatible needle and settings and must be tested first.
What should I do if the machine cannot sew through the layers?
Do not force it. Reduce the bulk, change the construction, check the needle and presser foot, or use a machine suitable for that thickness.
Conclusion
Sewing denim without breaking needles depends more on preparation than force. A new, compatible needle, a realistic sample, a level presser foot and a controlled speed can help prevent many problems.
Before you begin, check the weight, composition and maximum number of layers. While sewing, let the feed dogs move the fabric and stop if you notice any knocking, jamming or unusual noise.
The best set-up is not a universal figure: it is the combination that your machine can perform consistently and safely on the specific materials used in the project.
Which part of a pair of jeans do you find most difficult to sew? Tell us in the comments so that we can prepare more practical guides.